
# Clock
Information widgets typically display a few crucial information elements and track how that information changes over time.
The Clock Widget can be used in multiple different scenarios according to whatever need you might have. You can set the Clock Widget to display on-air the current Local Time of a specific country, or you can simply set a countdown timer that can be defined as a virtual clock that counts down from a certain date or number to indicate the end or beginning of an offer or event.
Countdown Clocks are used for many purposes.
For instance - In television, when set in a multiviewer while broadcasting, teams use them to stay on track and focussed, by ensuring team members have a sense of the time remaining until hitting the crucial moment.
You can choose to have multiple clocks on screen, showing different times and/ or countdown timers within the same graphic scene, or even simultaneously showing the timers from separate scenes whilst using different regions.
# Managing Clock Widget
Learn how to set up the Clock Widget by following the instructions:
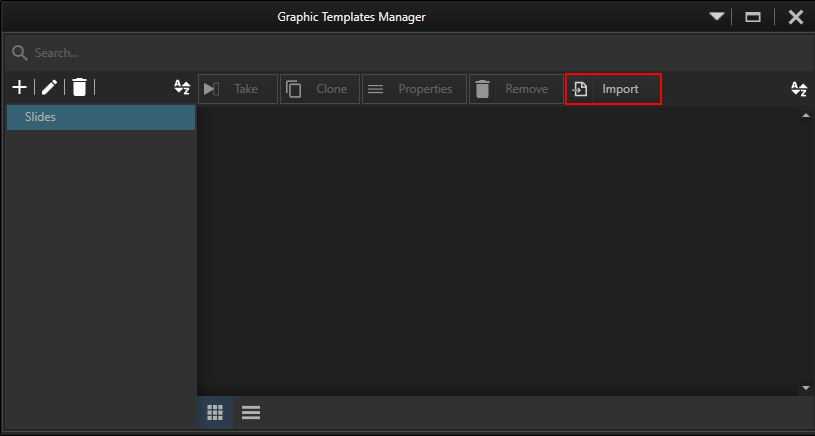
Before setting the widget, you must go to the Graphic Templates Manager in order to Import your Clock Scene.
- In Graphic Templates Manager Click on Import.
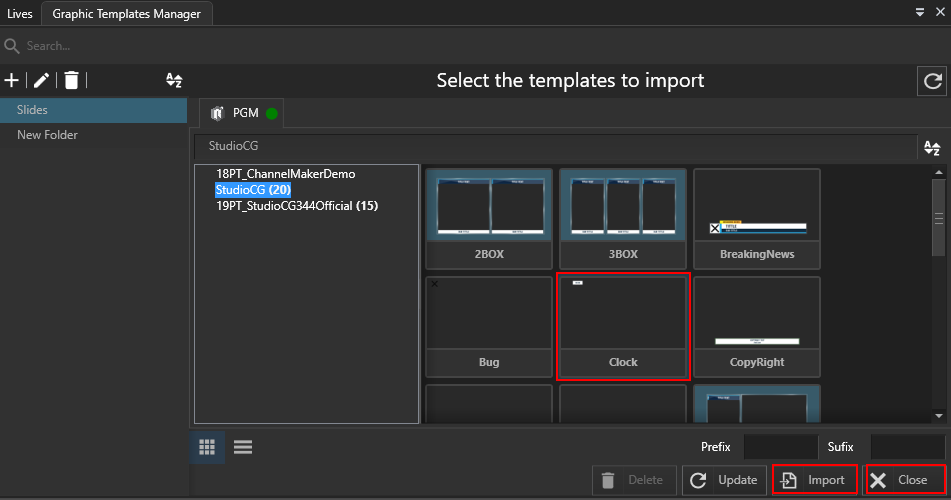
- Select Clock scene.
- Click on the Import button.
- Click on Close.
Clock scene will be available on the main Graphic Templates Manager window.
- Right-Click on the Clock scene and select the Edit form option.
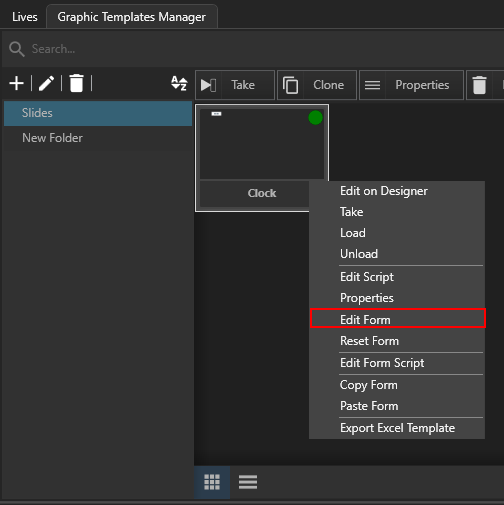
The Edit Form will Open.
- Click on the Widgets tab to Open.
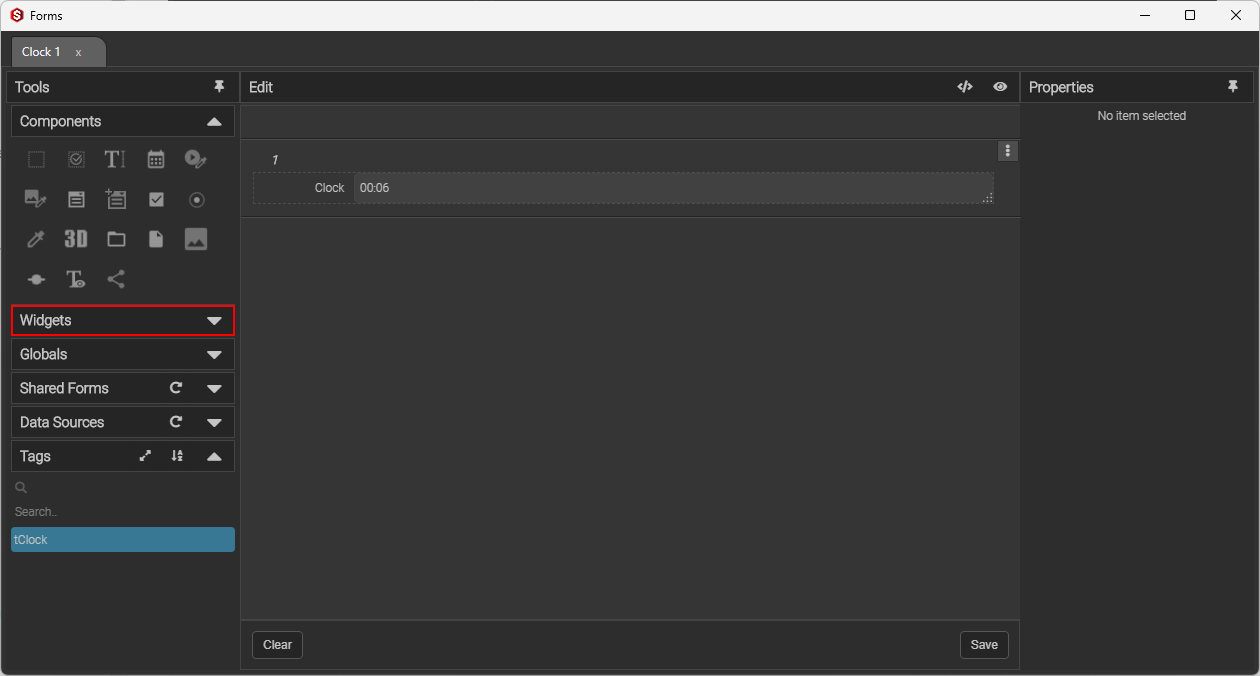
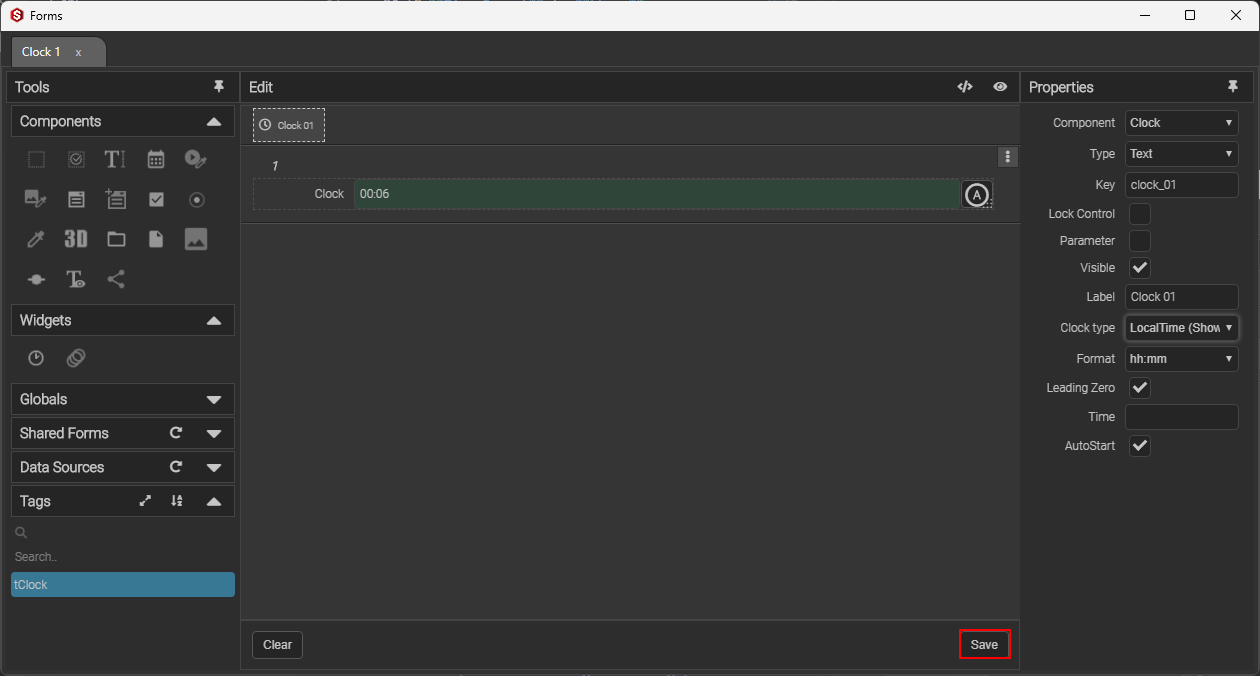
Drag-and-Drop the widget into the form on the right, to then place it on top of the clock component.
Select the clock component with a single click.
Click on Save.
Now that you have set the Clock Widget, it is time configure it's properties.
Different clock types require different configurations.
Select one of the following links according to the clock type needed.
# Local Time Clock
- Click on the Clock Widget to gain access to it's properties menu.
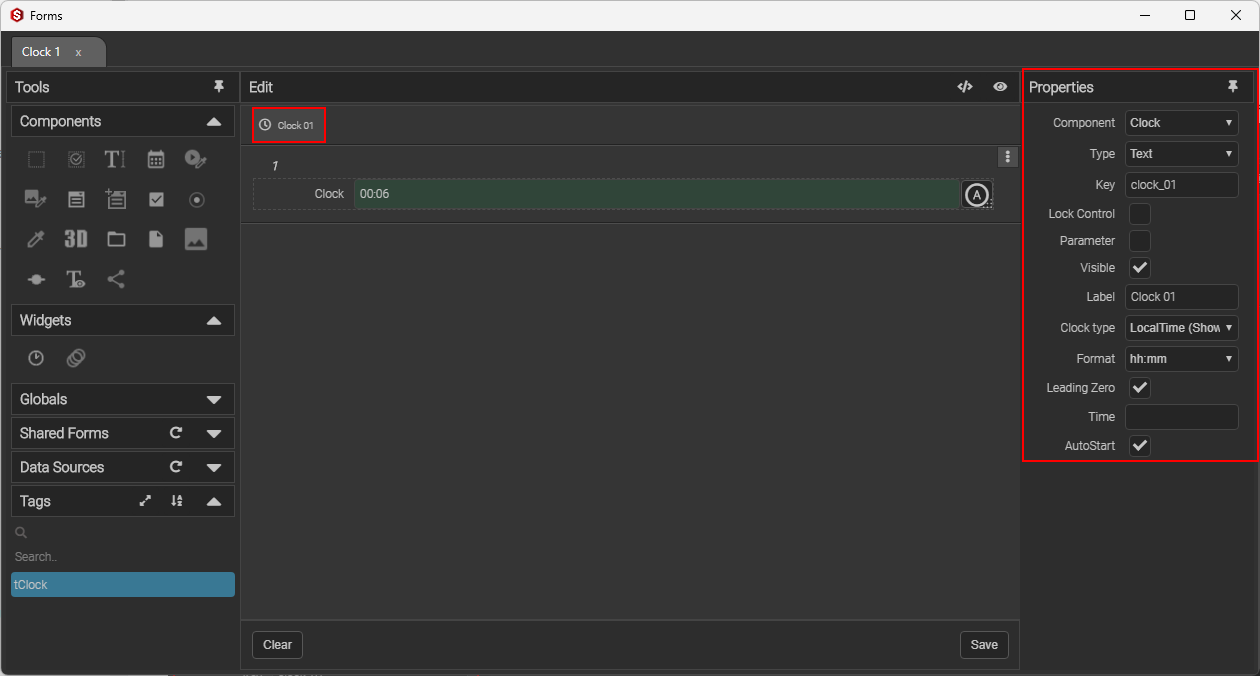
NOTE: When a different component is selected, the properties tab menu will remain open, but the menu options will change accordingly.

Under the Properties tab, configure the following options along with the instructions:
Clock Type
- Set Clock type to LocalTime.

Format
- Set Time Format to hh:mm.

Click here to learn how to change Time Format.
- Click on Save.
- Close Form window.
- Drag-and-Drop your Clock into your rundown.
- Take Clock on-air.
You now have a clock on-air, set with the current local time. The Studio Widgets window helps you to manage your clock.
# Counting Clock (Up)
- Click on the Clock Widget to gain access to it's properties menu.
- Scroll down to the Properties tab.
NOTE: When a different component is selected, the properties tab menu will remain open, but the menu options will change accordingly.

Under the Properties tab, configure the following options along with the instructions:
Clock Type
- Set Clock type to Up.

Format
- Set Time Format to mm:ss.

Click here to learn how to change Time Format.
Time
- Set desired time limit on counting clock.

- Click on Save.
- Close Form window.
- Drag-and-Drop your Clock into your rundown.
- Take Clock on-air.

You now have a clock on-air counting for 5 minutes. The Studio Widgets window helps you to manage your clock.
# Counting Clock (Down)
- Click on the Clock Widget to gain access to it's properties menu.
- Scroll down to the Properties tab.
NOTE: When a different component is selected, the properties tab menu will remain open, but the menu options will change accordingly.

Under the Properties tab, configure the following options along with the instructions:
Clock Type
- Set Clock type to Down.

Format
- Set Time Format to mm:ss.
Click here to learn how to change Time Format.
Time
- Set the time you wish the countdown clock to start from.
- Click on Save.
- Close Form window.
- Drag-and-Drop your Clock into your rundown.
- Take Clock on-air.

You now have a clock on-air counting from minute 5 down to 0. The Studio Widgets window helps you to manage your clock.
# Counting Clock (Until)
- Click on the Clock Widget to gain access to it's properties menu.
- Scroll down to the Properties tab.
NOTE: When a different component is selected, the properties tab menu will remain open, but the menu options will change accordingly.

Under the Properties tab, configure the following options along with the instructions:
Clock Type
- Set Clock type to Until.

Format
- Set Time Format to Custom.

Click here to learn how to change Time Format.
Custom
- Set Custom to hh:mm:ss

Time
- The clock will countdown the remaining time until referred time.

- Click on Save.
- Close Form window.
- Drag-and-Drop your Clock into your rundown.
- Take Clock on-air.
You now have a clock on-air that will countdown the remaining time until referred time. The Studio Widgets window helps you to manage your clock.
# Clock Format
# Display 24H Clock
You can opt between working with a 12H/ 24H clock system.
If you want your clock to run on a 24H system you must:
Go to the Properties menu and select the Custom option under Format.
Then, you must type-in "HH:mm:ss" in the Custom data field.
NOTE: Make sure to type as followed. The two capital letters "HH" is what tells the system to run the 24H system.

# Display Ante/ Post Meridiem on 12H Clock system
You can opt between having your 12H clock system with or without the Ante Meridiem/ Post Meridiem initials to show.
If you want your clock to display the reference AM/ PM you must:
Go to the Properties menu and select the Custom option under Format.
Then, you must type-in "hh:mm:ss tt" in the Custom data field.
NOTE: Make sure to type as followed. Adding " tt" (space+tt) after the time format is what tells the system to show the meridiem reference.
